Part 4 - Building and sculpting a 3D relief mural
An Octopus's Garden Relief Mural project series. Building and sculpting a 3D relief mural with EasySand 90 joint compound using, palette knives, sculpting tools, and cake decorating tools.
8/22/20244 min read
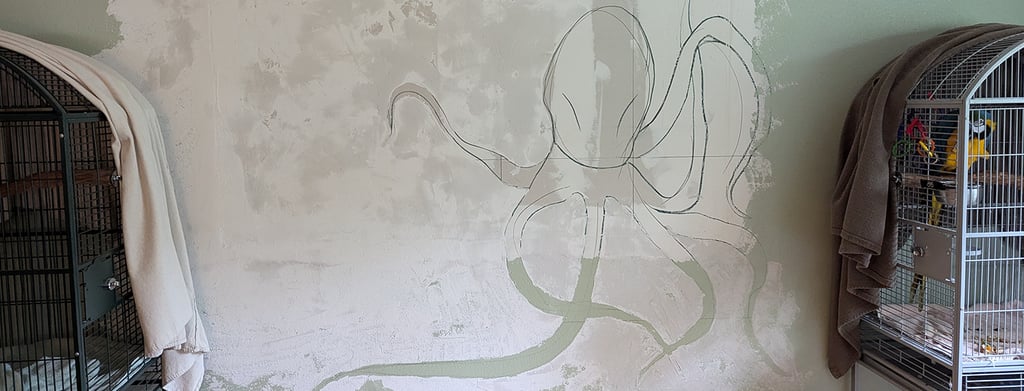

Organize your sketch in colors.
Large murals demand organized steps. Setting up the art on the wall by color coding line drawing is a great way to remind yourself where you think you're going. Painting a large mural isn't difficult. Sticking to the plan once you're looking at 120 square feet of space is the challenge. Find every opportunity to leave 'notes to self' in the process. I use sample art, color drawing on the wall, and stopping points.
The value of mockups, sketches, and small relief design samples.
Working small scale digitally or in other mediums saves money and time. It also frees creativity up to try ideas that you may have not thought about staring at 120 square feet of empty wall. That intimidating. Working out details, time and cost investments, as well as possible problems to the project costs nothing. Working out details, time and cost investments on the mural wall can create more problems than solve and it will add costs. Mockups are maps. Know where you're going before you head out.
Using color on the wall during sketch up.
Make a plan.
Stick to the plan.
Keep the plan inside the project.
A mockup, sketch, or small relief design is only as good as how often you look at it. Once you get on a wall, there's an urge to get moving and get working. It's easy to fall into the zone of creating and forget where you wanted to go. The flow takes you places. Transferring as much of your plan onto the wall and moving those 'notes to self' inside the painting and processes is a power move toward success. I use color.
Each color of the sketch tells me what part will be built up in joint compound in what order. I tinted the joint compound to create the horizon line and laid that in first. With that visual information on the wall, it's easy to see what the foreground to background elements will be and in what order I will need to build them up. The main character is drawn out in black which visually pushes all the other elements back behind it. At this point, with my small sample relief in clay at hand, I know exactly where I am going. The map is clear, in my mind, and in my view.
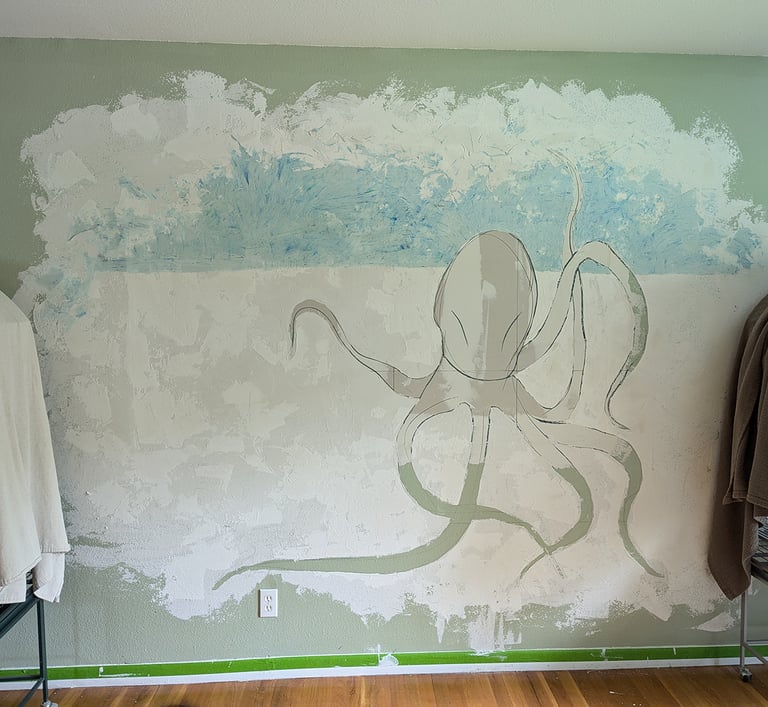

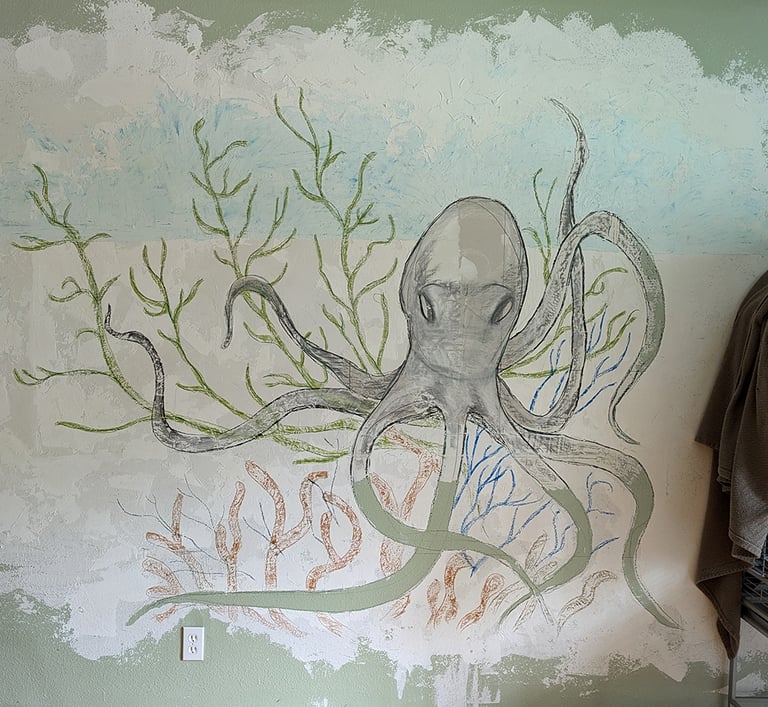

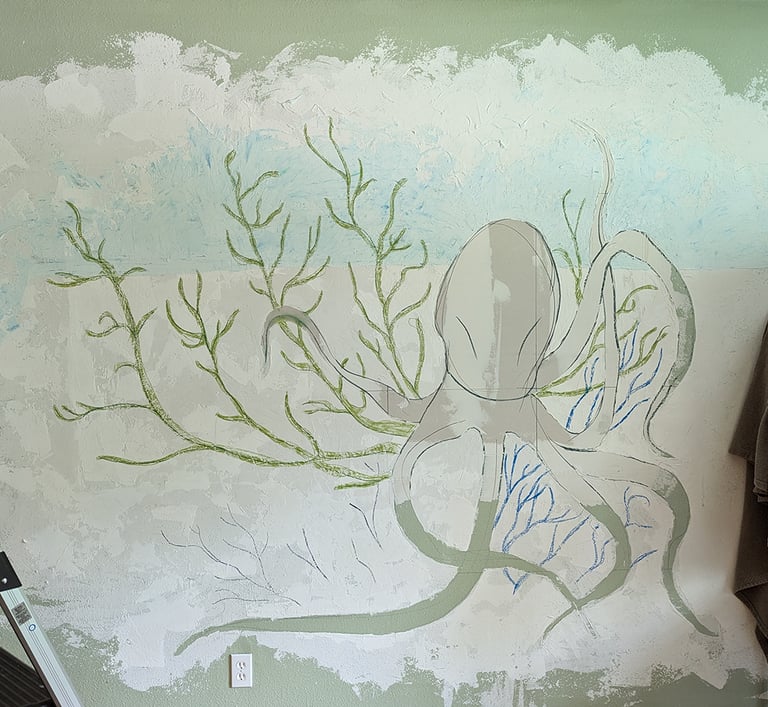

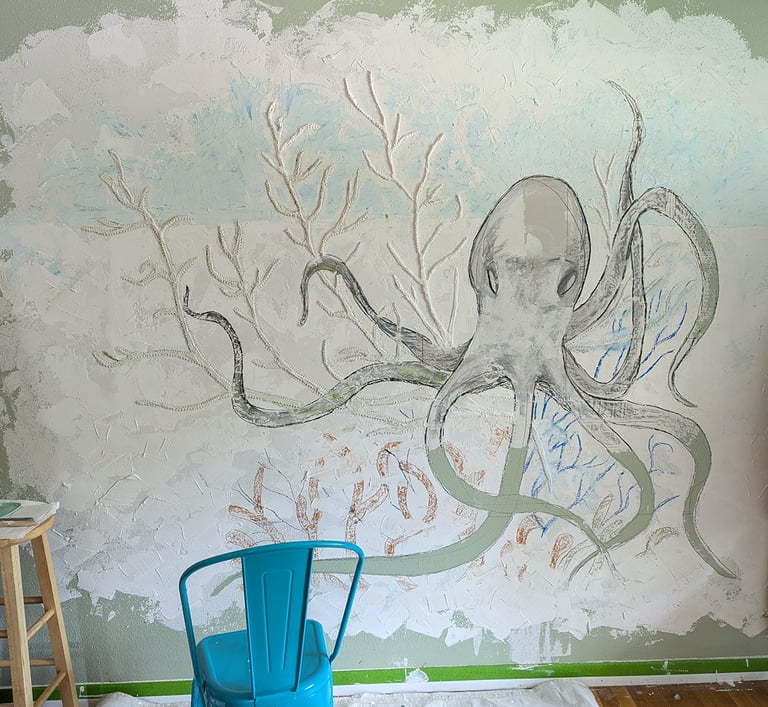

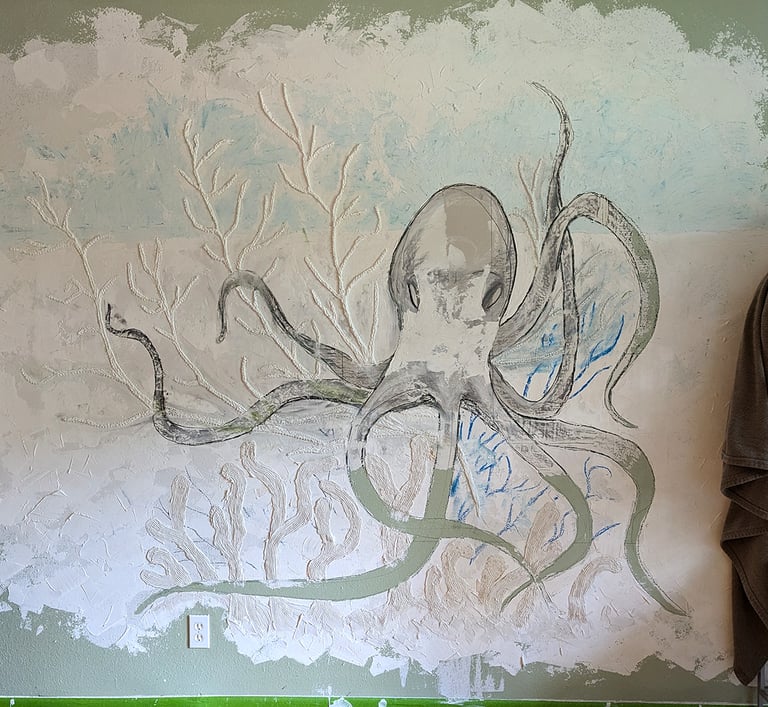

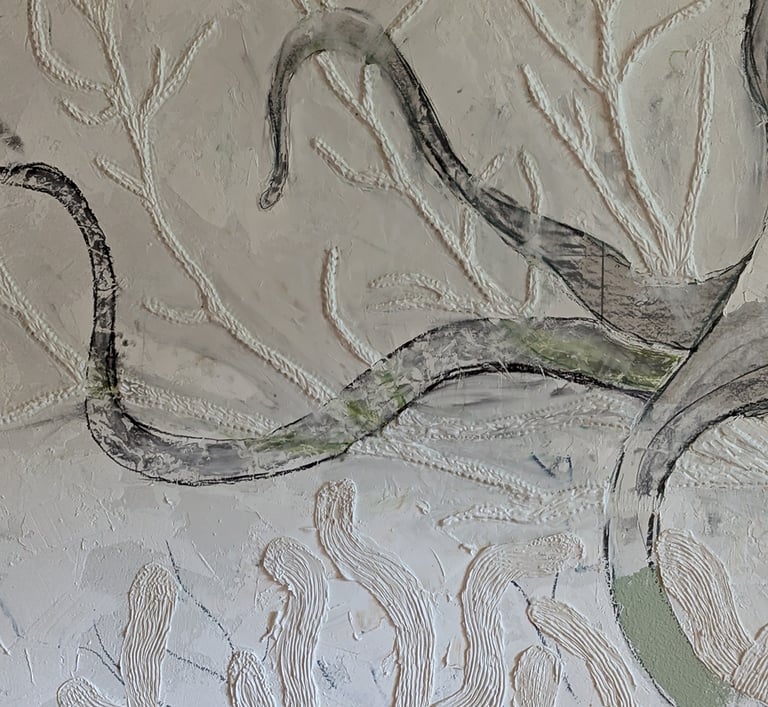

Stick to the plan and your project is easier.
At this point the only build up and sculpting left is the main character of the mural, Octopus's Garden. From blank, repaired wall to the current stage was an investment of ten hours (including clean up times). That's another benefit of making a plan and sticking to it. Clean up time is halved. Nobody likes clean up time.
Part 5 - Finish and prepping your relief mural for painting affects, coming sooner than you think. Because I'm sticking to the plan.
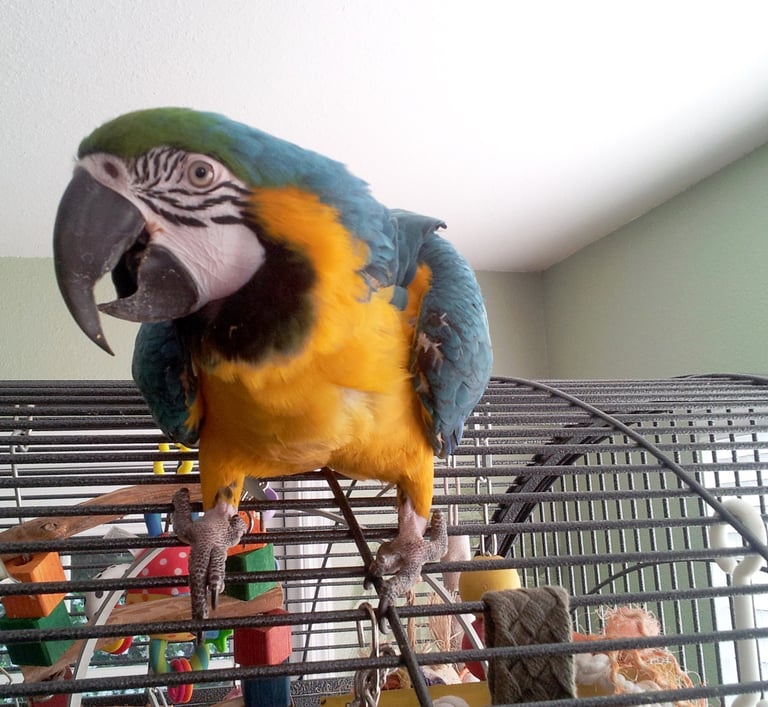

A word about the parrot.
This is Butters. Our almost thirteen-year-old blue and gold macaw. She's not locked in that cage you see in the photos. She's free to go anywhere she wants, at any time. After we installed new hurricane windows last year, she decided the master bedroom's window was the best in the house. Therefore, she would prefer to spend the day upstairs in her bedroom roost cage looking down, over, and through our oak trees out front. Considering these are large viewing windows on the second floor looking through lush oak canopies, I do not disagree with the girl.
Butters FAQs
Yes. She does talk. Contextually with intention.
No. She's not afraid of my ladder or project paraphernalia. She is afraid of turtles.
No. Parrots are not pets. They are companions and offer that level of connection.
No. She does not know she is a bird.
Yes. She can fly. She is allowed to fly anywhere she wants, at any time, when we're home.
Yes. She IS bodacious, isn't she.
