Part 1 - Designing and planning a 3D relief mural
An Octopus's Garden. This mural art will use fresco, 3D relief sculpting, and serious color planning. First things first. What would an octopus's garden look like? Designing and planning a 3D relief mural.
7/26/20242 min read
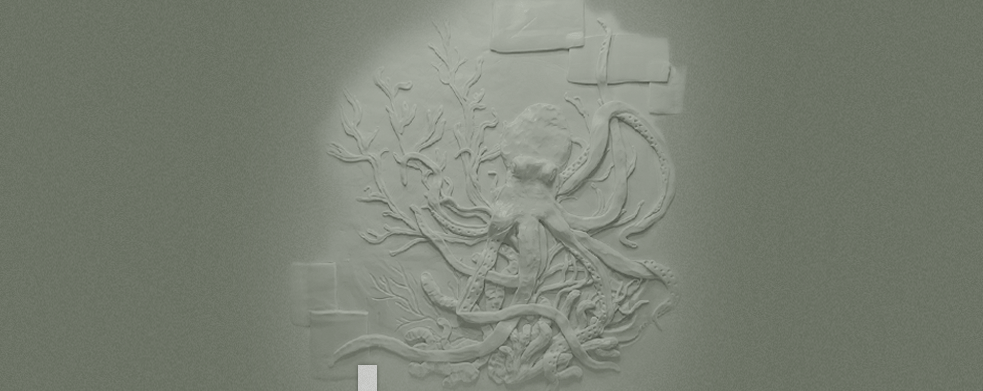

Designing for a 3D relief mural requires building the sample in 3D.
When working on a relief mural I start the design process in polymer clay on a small, stretched canvas.
Polymer clay sculpting lets me work out how I'll sculpt in Easy Sand 90 joint compound on the wall. Having a finished sample to show a client lets them see just how their wall will look under lights. Showcasing the relief itself.
Sculpting on canvas I start with a line drawing and build out from there with XIEM sculpting tools specific for the task. If the client wants changes, it's a quick change in malleable clay. Seeing a relief mural plan in relief, is the only way to know the design will work. There's no substitute.
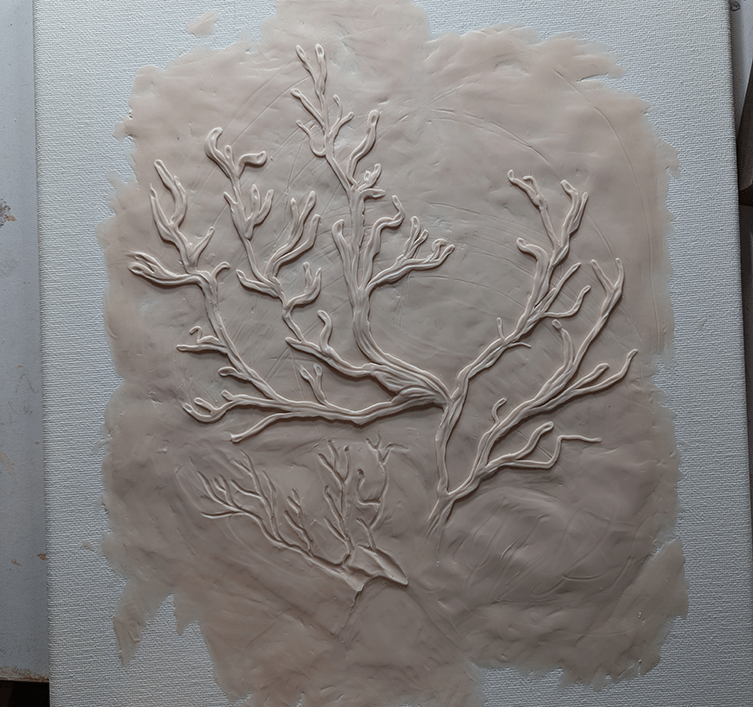

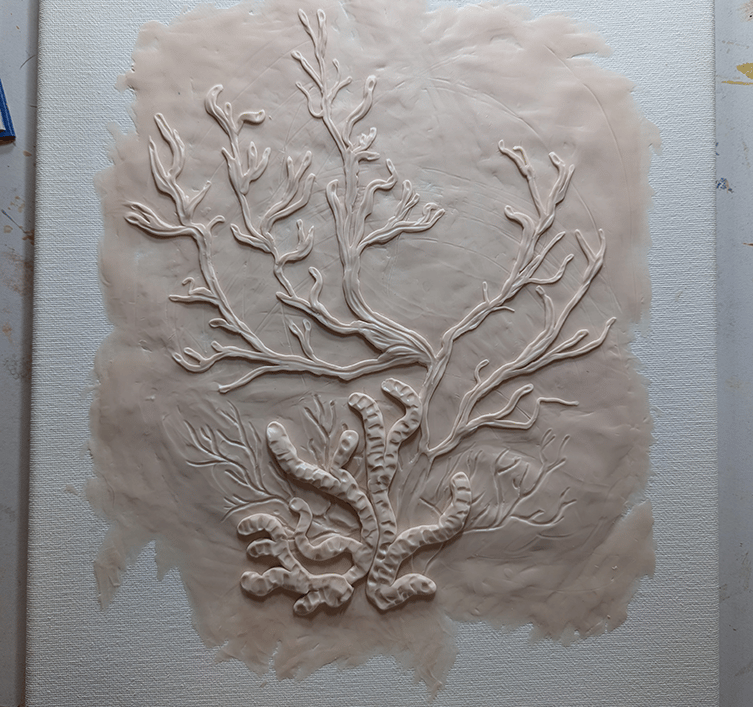

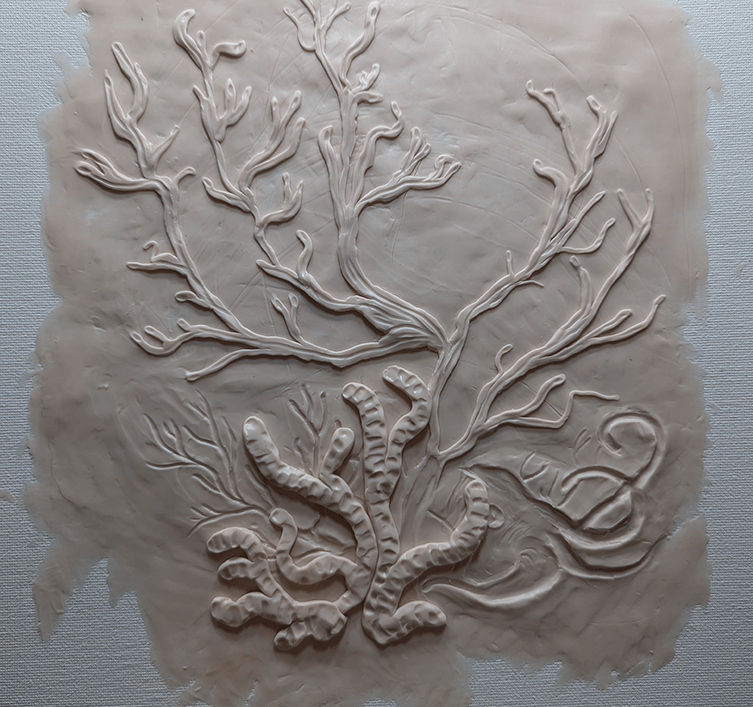

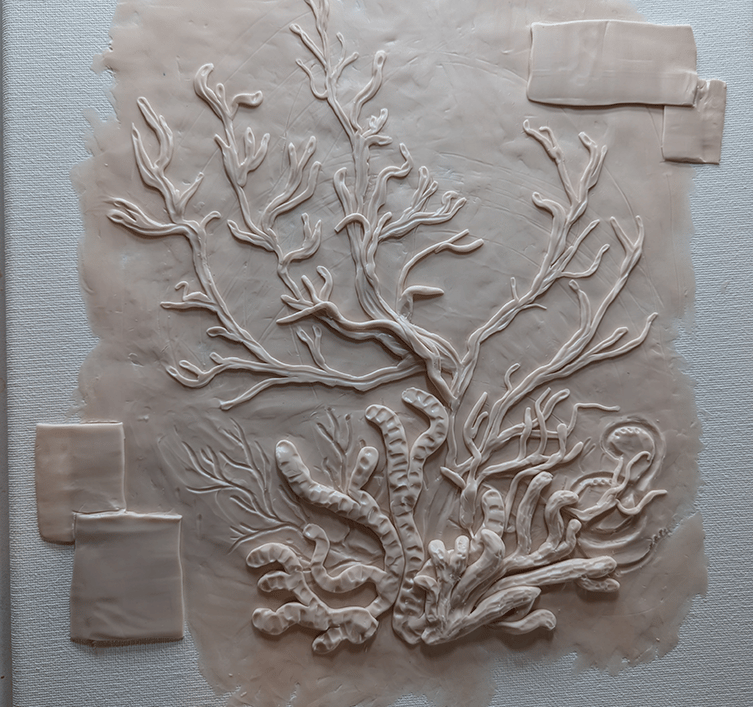

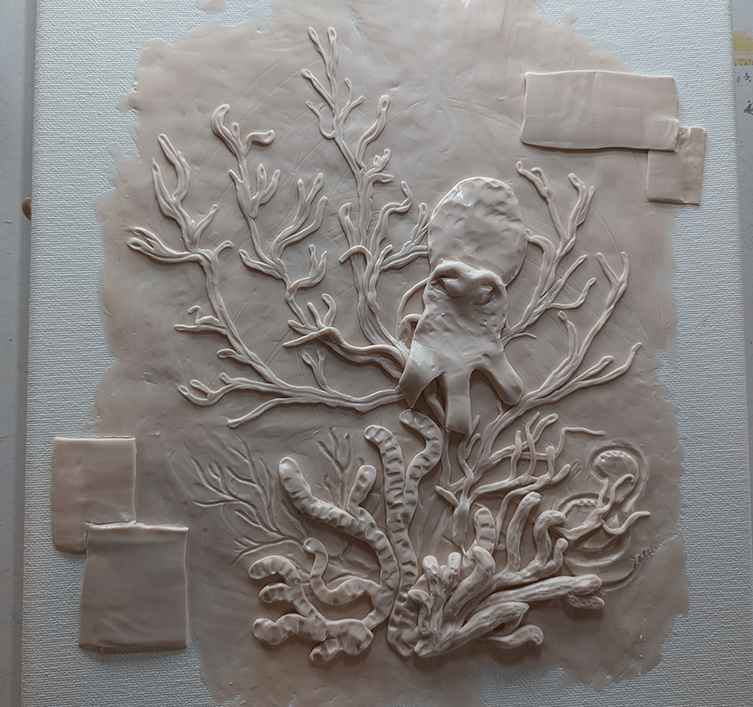

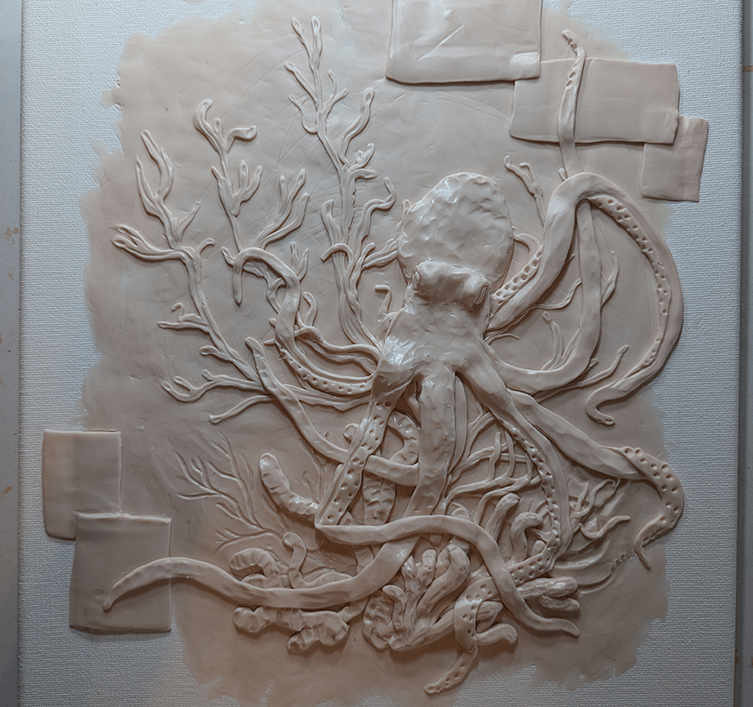

When you can see the relief, you can imagine the mural wall with better accuracy.
When the relief work is finished and signed off by the client, I then take a photo of that sample and mock it up digitally on the project wall. Here is where the client can see the impact in entirety. The relief sample creates accurate conversation forward. We go over preferred colors and style. What works on a flat wall may not work in relief. Which becomes obvious at this point.
Seeing a relief mural in relief under real lighting, then digitally applied to your project wall guarantees the outcome. Success is where preparation meets opportunity. Designing and planning a 3D relief mural is not the same as designing and planning prepped wall mural.
Once fired, the polymer clay sample can be painted along with the wall yielding a stretch canvas piece.
Relief murals are a high-value Iconic Decor piece.
The best locations in a home for a 3D Relief mural.
Entry ways.
Statement walls.
Columns.
Bookend walls.
Master bedrooms.
Open floorplans.
Consider smaller 3D relief pieces as accents next to or above doors and hallways.
Read Part 2 - Choosing materials for the sculpting leads to playing with those materials to see what you can make them do for your wall. Test drive relief possibilities!
As an Amazon Associate, I earn from qualifying purchases. Why link anything? As examples. If it's a link, I use it. What I like about Amazon in general, is the ability to see options and ideas. I like options and ideas.
