Part 2 - Designing and planning a 3D relief mural
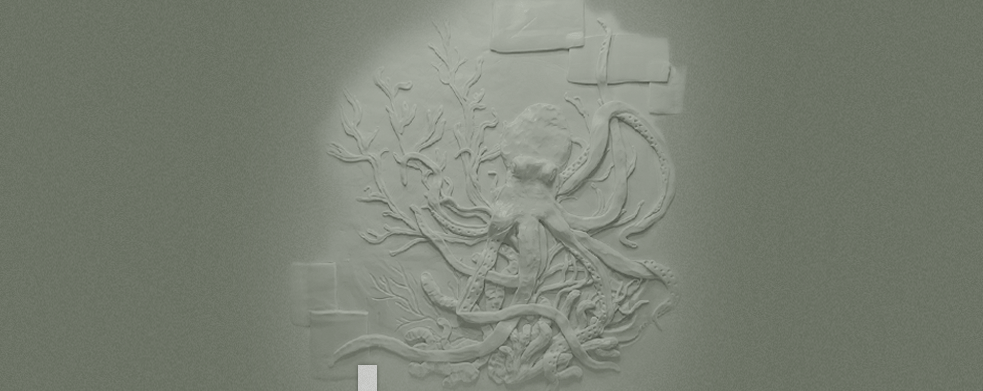
An Octopus's Garden. Designing and planning a 3D relief mural. Choosing materials for the sculpting leads to playing with those materials to see what you can make them do for your wall. Test drive relief possibilities!
8/6/20243 min read

Experiment with materials on a small scale.
I'll sculpt in Easy Sand 90 joint compound on the wall. But first I'll find all the ways this product will perform for me. On a small scale again. I highly recommend using inexpensive stretched canvas. It offers the ability to attach a canvas to a wall. This lets gravity have its opinion on your process and expectations. These canvases are also cost affective while you work through various ways and means to the result you're looking for in your mural work.
Digital is great and all, but it removes the reality of a fan running in a room drying paint faster among all the other real impacts a muralist faces. First things first. Know your materials. Know your tools. And have a very familiar experience what you can get out of both of them. Digital painting cannot give you this familiarity.
Part 1 can be found here.
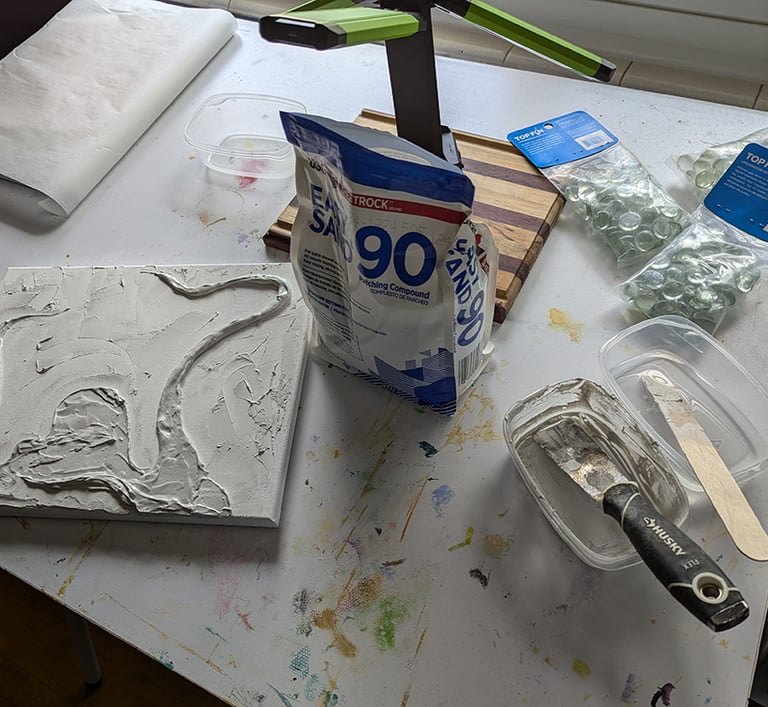

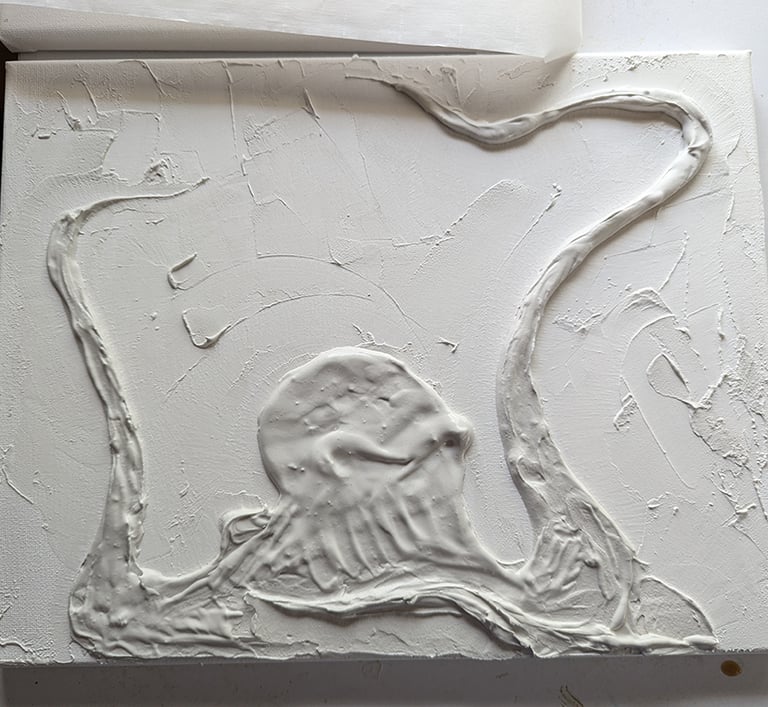


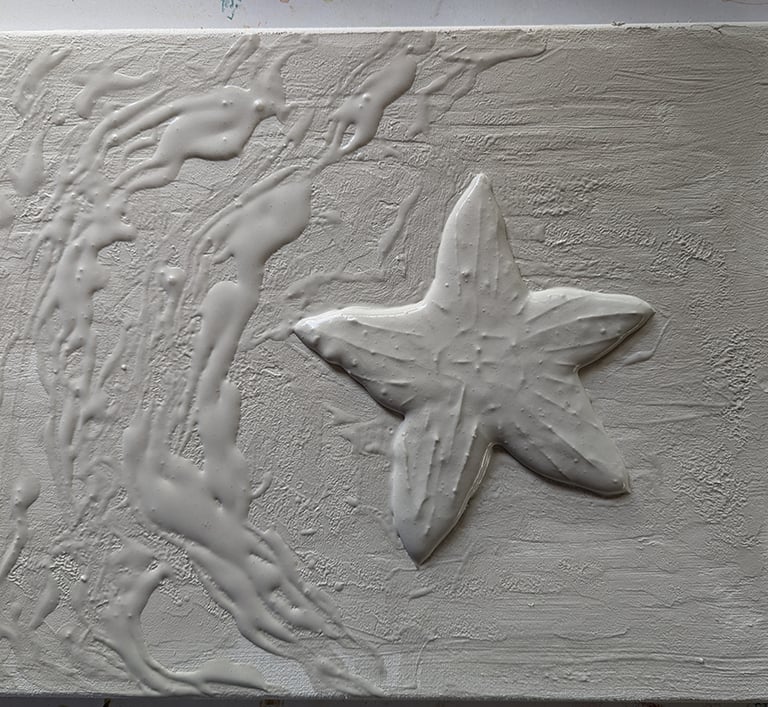

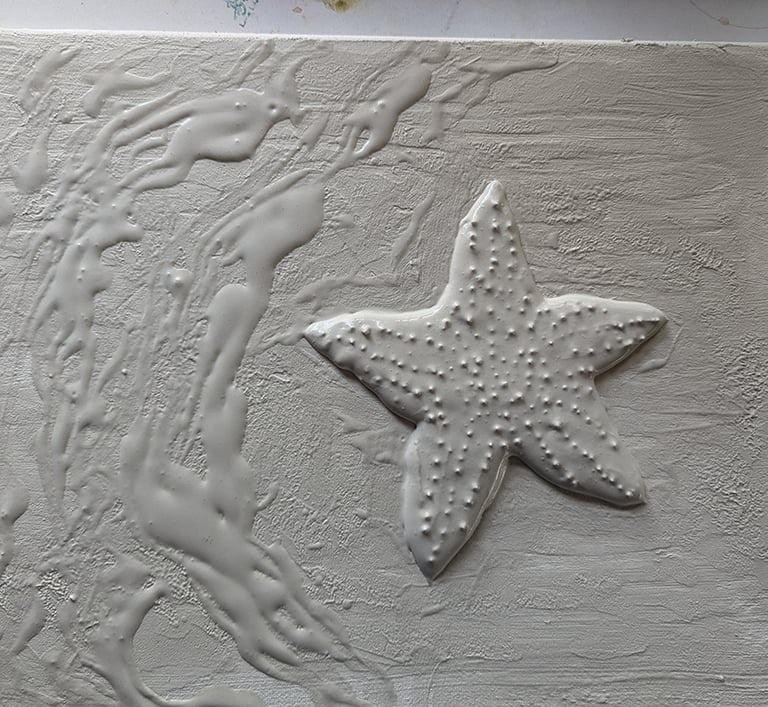

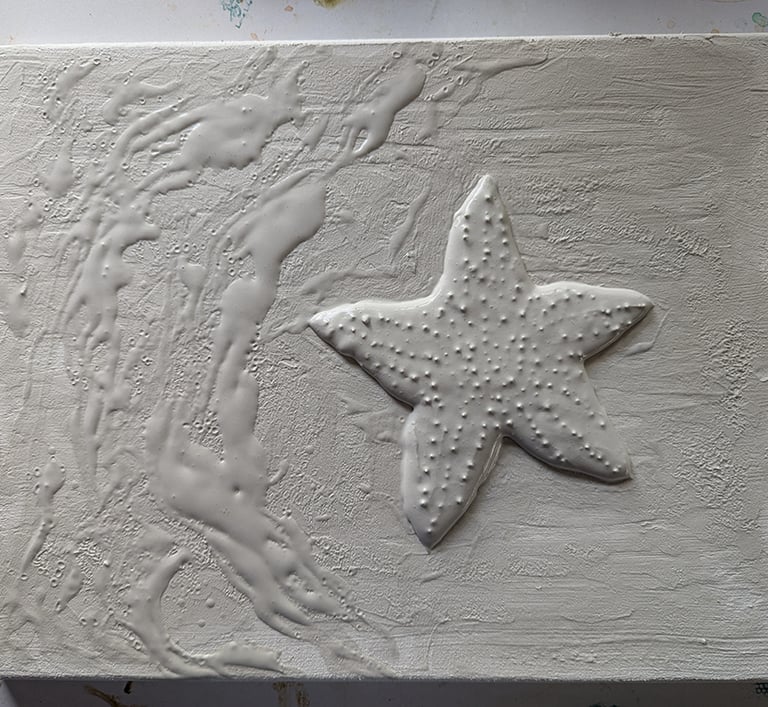

By these simple exploring exercises, I've learned that the product Easy Sand 90 is a perfect choice for the wall.
Here are some tricks I've conjured with this compound.
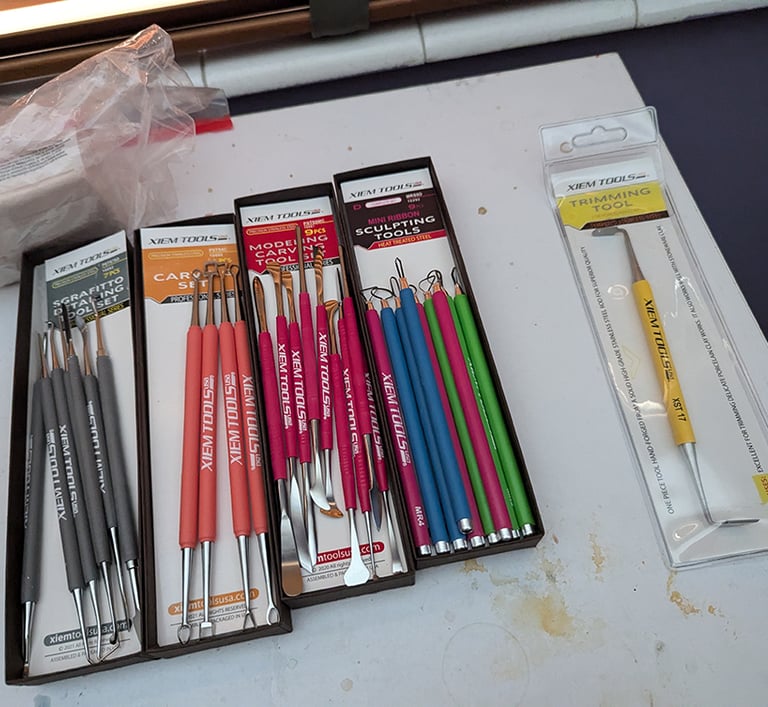
The 90 means you've got 90 minutes to work with this once you've mixed it. Which gives you time to muck about. At 15 after application the compound has a thin film at the surface. You can break that surface with tool and create lumps, bumps, and shapes. At 30 minutes it's much like mud and can be pushed around reshaping or moving areas. At 90 minutes you can sculpt with clay sculpting tools and leave a clean effort.
You can mix this product into a slurry, cookie dough texture, and even bread dough texture. Each has its available workable time, so the dryer, the shorter time you have. But there's some amazing affects you can get by pressing the cookie dough wads into the wall. The product performs well no matter.
If you mix 70/30 (mix to water) you can use painter's pallet knives and achieve some excellent results. This mix also creates a premium surface for sculpting, shaving, texturing, and scraping.
As a slurry, you can drip and pour to achieve great water affects. This works on a horizontal canvas. On the wall water dripping affects are impressive. I would design for that affect. It's that impressive. You can also 'splash' the product onto the wall for splatter affects. That was fun. And messy. Plan accordingly.
Best part of this product, it's water soluble. You can clean up messes and wash it out of your clothes. Hurrah!
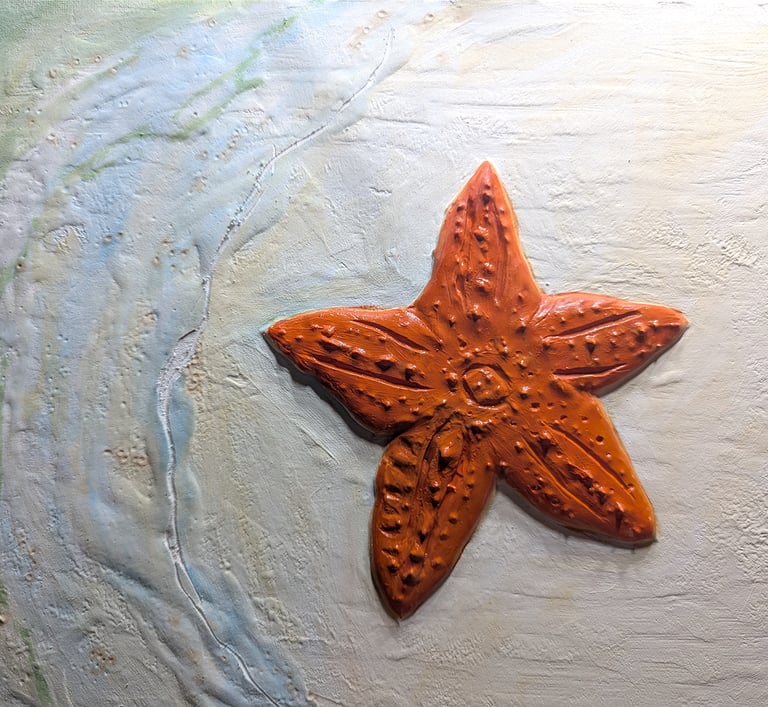

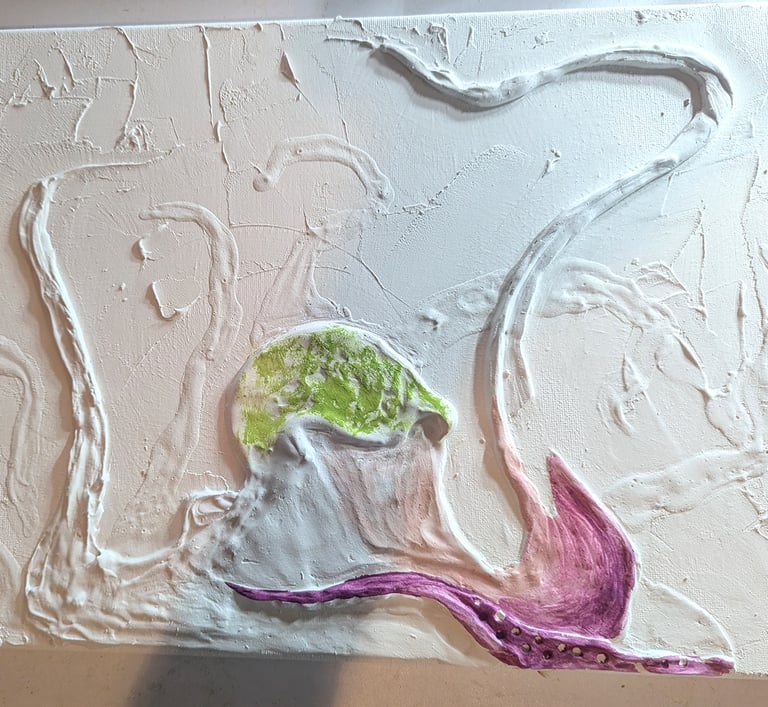

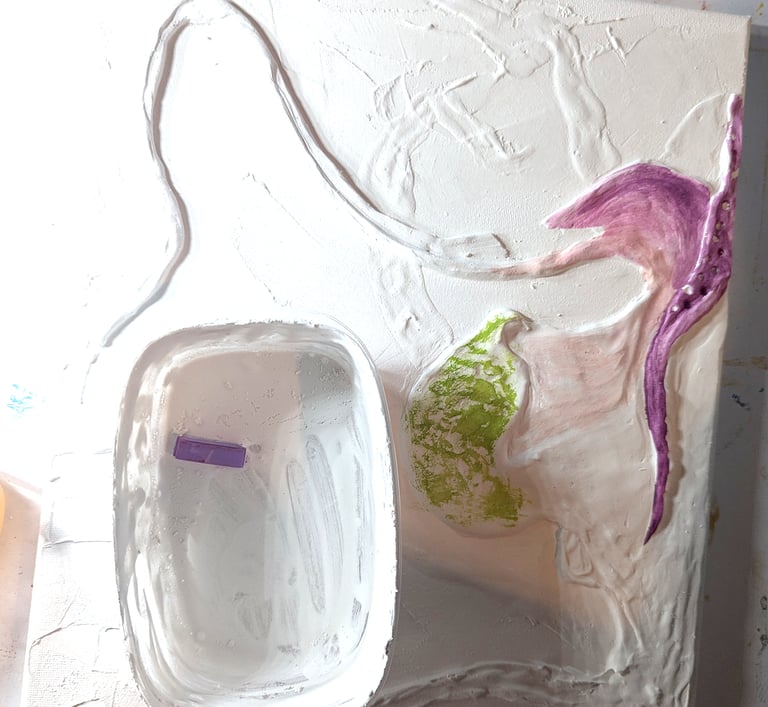

Feeling comfortable and confident with new materials is paramount.
Take the time to find out what rules you can break, and what rules are unbreakable. Push your materials to failure. Confidence comes from knowing where the failure point is. Anything before that is your artistic choice.
Part 3 discusses pigments, acrylics, and fresco experiments after getting to know the compound, it's time to find out what pigments on, in, and with it.
As an Amazon Associate, I earn from qualifying purchases. Why link anything? As examples. If it's a link, I use it. What I like about Amazon in general, is the ability to see options and ideas. I like options and ideas.
