Part 3 - Creating a 3D relief mural
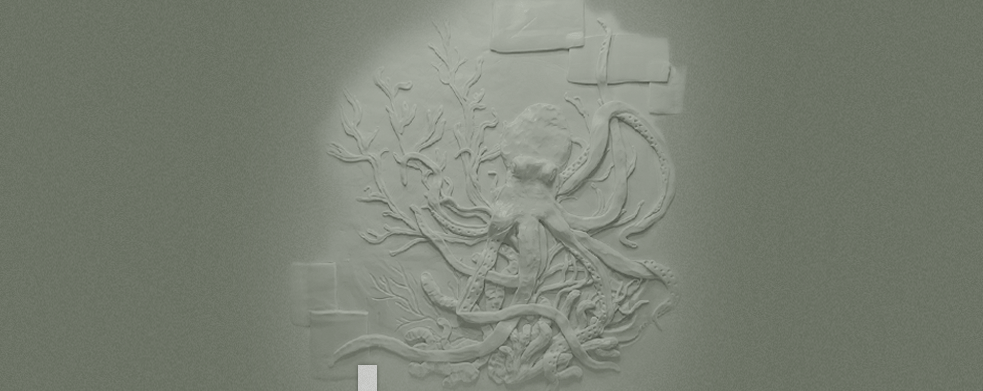
An Octopus's Garden Relief Mural in progress. It's time to apply all we've learned in smaller material experiments and apply them to the wall. It's also time to have fun creating a 3D relief mural.
8/9/20244 min read

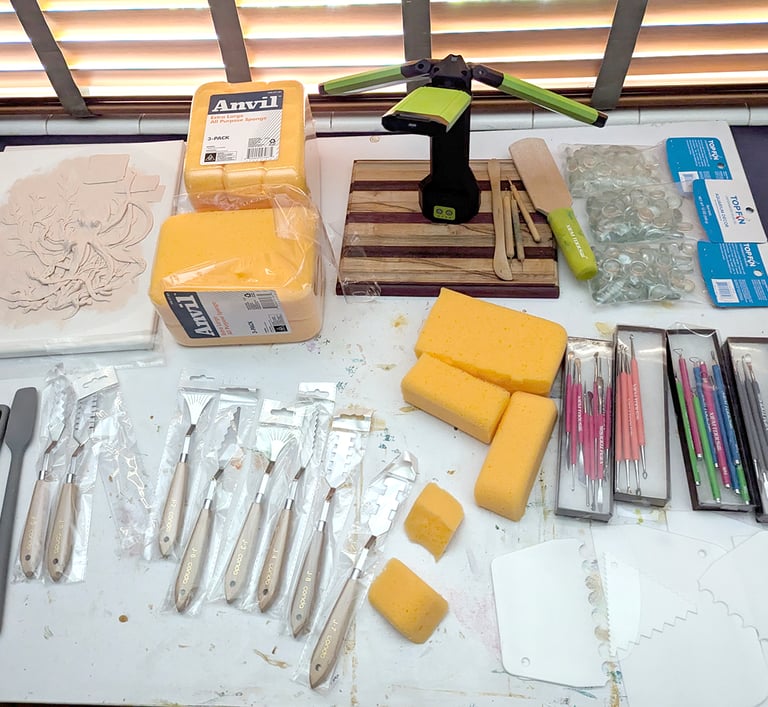
Organize your sculpting tools for quick access.
I'm a bit obsessive with tools and mediums. I gather them like a mother hen collects her chicks. During a project I divide them into three groups.
Available to use.
Used with success.
Tools to try next.
At the end of each day, I make sure all tools are clean, dry, and serviceable. I set the Tools to Try Next to the right of the Used with Success tools. Call this 'notes to self'.
Tricks for relief work with Easy Sand 90:
Mix small batches.
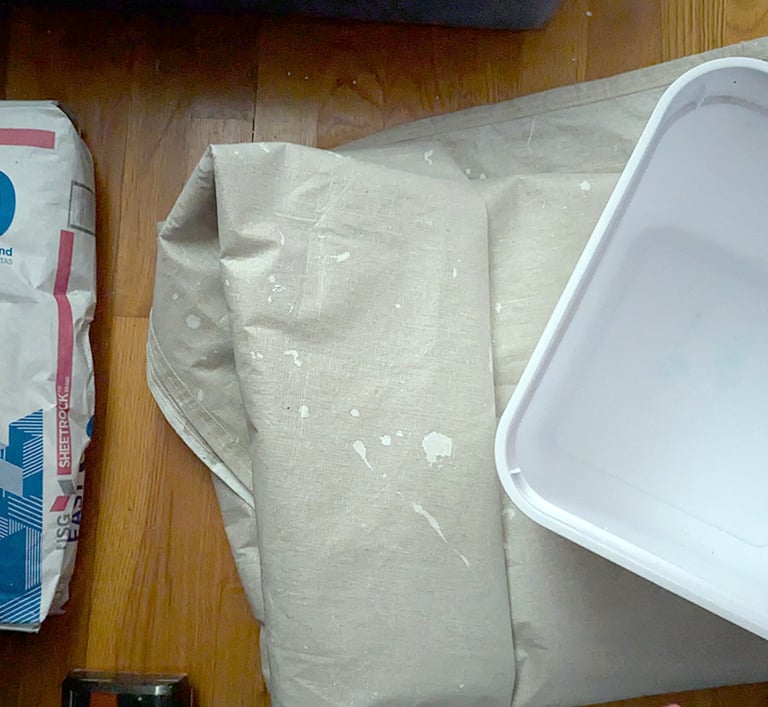
Use a square tub/bucket. Not round. You'll be scooping up against the wall of that tub or bucket with your trowel or cake makers tools, and you want a flat surface for an even pickup.
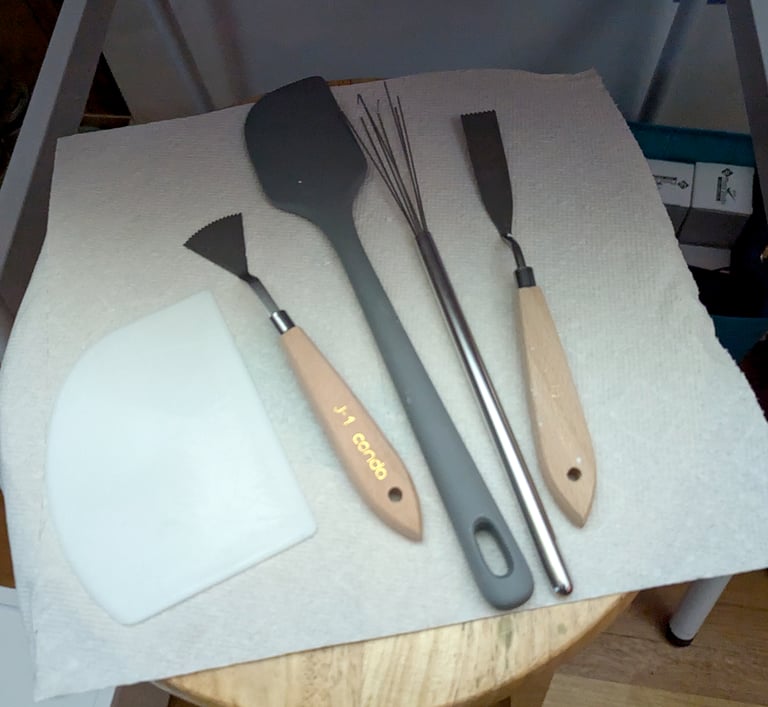
Speaking of cakes. Cake decorating tools make fantastic applicators.
Silicone spatulas are excellent applicators as well, and even better shaping tools once the compound is on the wall. The silicone slides right over wet compound leaving a sheen smooth surface behind.
A portafilter whisk is a perfect whisk for small batch mixing.
You can't have too many palette knife sets as you never know what texture you want to leave behind. Definitely go stainless steel.
Growing up in a DIY family, my parents taught me the best tools are planning, order, and cleanliness.
Make a plan.
Stick to the plan.
Keep tools, products, and the worksite orderly at all times.
Clean tools. Clean worksite. Clean shop towels and floor protectors.



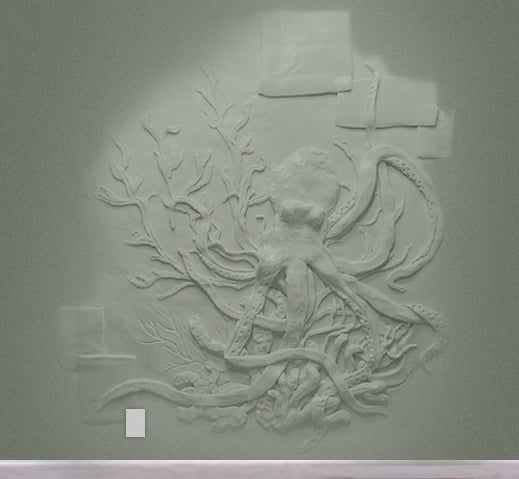



Stick to the plan created in clay and digital comp.
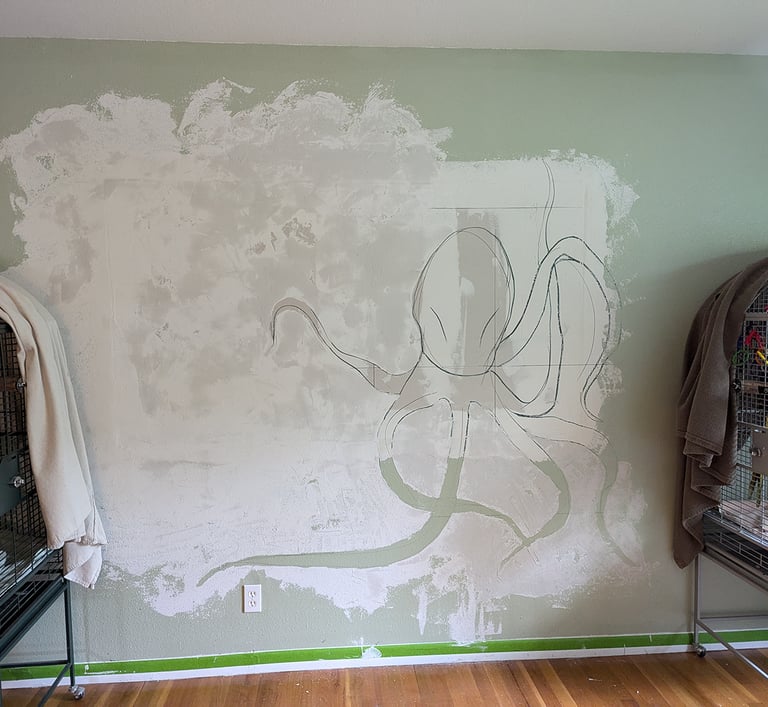
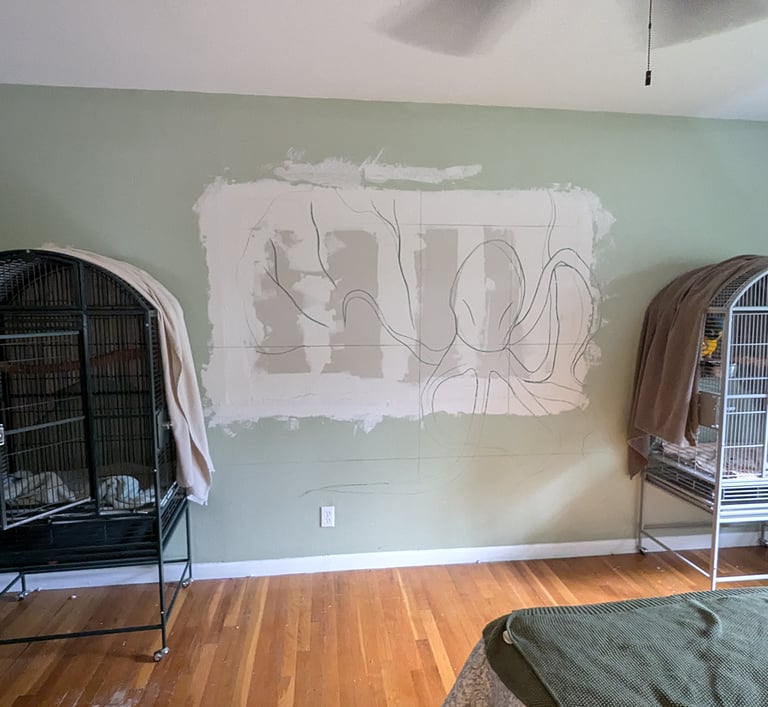
Get yourself a bubble level and a retractable tape measure. Find center horizontally and vertically. Mark that horizontally and vertically using your bubble level. From those lines draw in the golden ratio (not spiral) lines. You want that golden grid ratio so you can place the main character of your mural in a dynamic balanced location according to the ratio grid. (Just like cropping a photo on your phone.) I draw in pastel chalk, it's easy to wipe away, and will disappear underneath the joint compound layers.
Mixing small batches for the first coverage I used a 70/30 ratio of mix getting a thick pancake like mix. I used a cake decorator wedge to trough on and spread the compound out looking to create dynamic random textures. Swipes, swatches, swirls. Hints of moving saltwater under the sea. I do not want a smooth finish. The first two passes across the entire design will be for background effects of depth, water, and flotsam in saltwater. If you've swam near reefs, or in deeper waters off a beach you know just how much is really going on in the water. Every drop is actively supporting all kinds of life forms.
I worked this texture layer around the main octopus. You'll count his arms in these photos and see he's only got seven. I haven't decided if his eighth will be holding a hermit crab gently, or if it too, will be lazily floating. I'm leaving that option open.
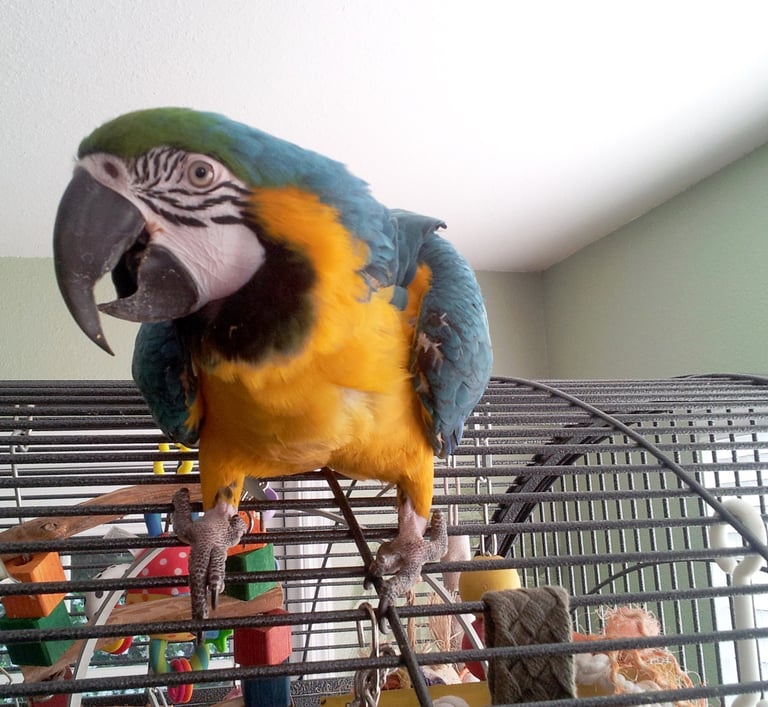

A word about the parrot.
This is Butters. Our almost thirteen-year-old blue and gold macaw. She's not locked in that cage you see in the photos. She's free to go anywhere she wants, at any time. After we installed new hurricane windows last year, she decided the master bedroom's window was the best in the house. Therefore, she would prefer to spend the day upstairs in her bedroom roost cage looking down, over, and through our oak trees out front. Considering these are large viewing windows on the second floor looking through lush oak canopies, I do not disagree with the girl.
Butters FAQs
Yes. She does talk. Contextually with intention.
No. She's not afraid of my ladder or project paraphernalia. She is afraid of turtles.
No. Parrots are not pets. They are companions and offer that level of connection.
No. She does not know she is a bird.
Yes. She can fly. She is allowed to fly anywhere she wants, at any time, when we're home.
Yes. She IS bodacious, isn't she.
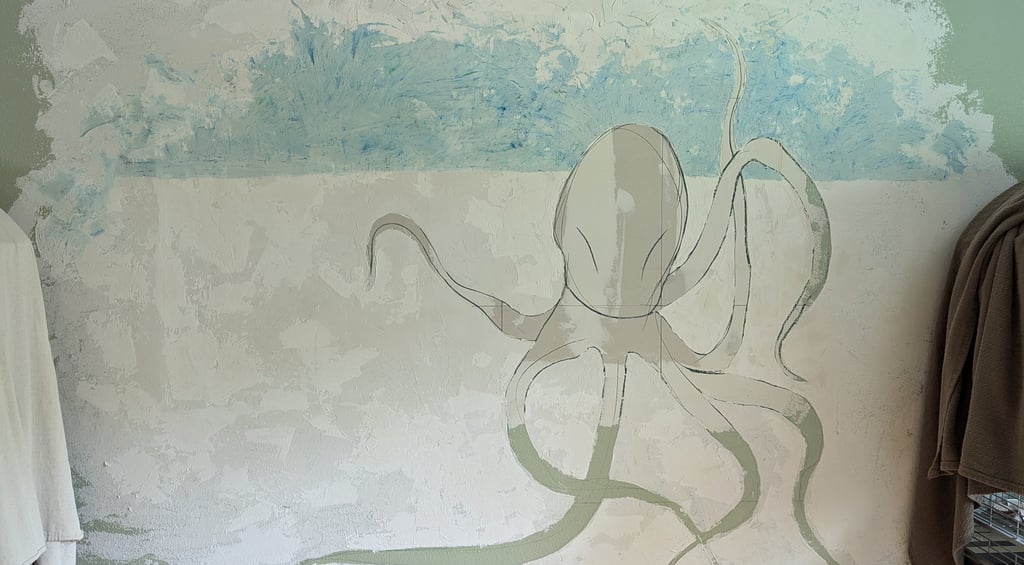

The second pass of background texture is tinted compound.
Here weeks of experimenting with materials pays off. I crushed colored pastel chalks to create a certain color affect and mixed the dry pastel chalks with a small batch of yet dry compound. After getting that mixed evenly, I added water at the 70/30 ratio (mix/water). I used a large cake decorator's wedge and cut in the horizon line of the scene. NOTE: At the finish of this design, you'll not see this line. This is strictly for me to stay true inside the art's perspective. Another 'note to self'.
Part 4 will go over building up areas. Sculpting down those areas. And laying in depth and perspective through different viscosities of EasySand 90. Stay Tuned!
As an Amazon Associate, I earn from qualifying purchases. Why link anything? As examples. If it's a link, I use it. What I like about Amazon in general, is the ability to see options and ideas. I like options and ideas.
