A Step-by-Step Guide to Painting a Multiple Canvas Panel Set
How to plan, prep, and paint multiple stretched canvas. Walk through a Step-by-Step guide to painting a multiple canvas panel set by watching me paint four.
4/16/20244 min read
Creating a single painting across multiple stretched canvas panels can feel daunting the first time. Try these three key steps before you draw on or paint on your canvases. Do these steps and you will find yourself confidently moving forward with that first stroke of your brush.
Step 1: Planning and Preparation
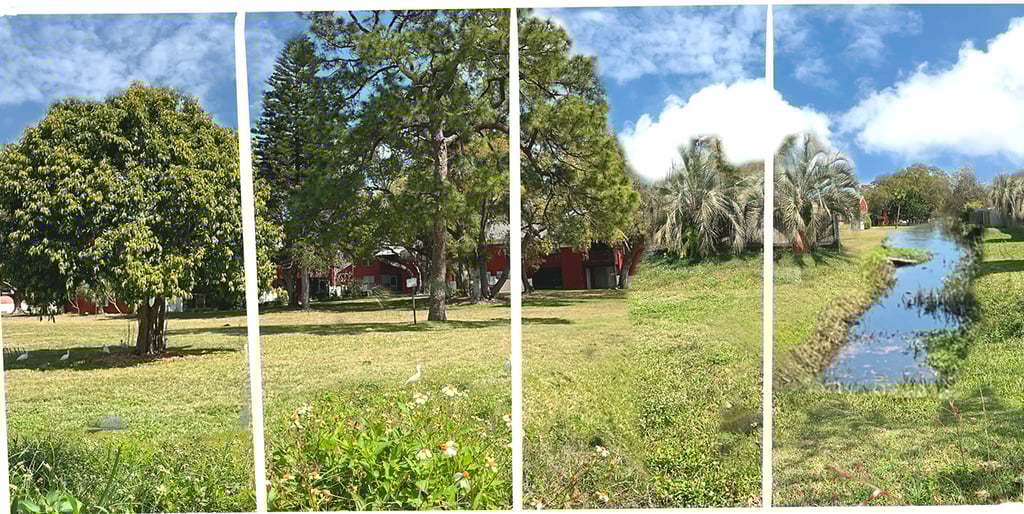
Sketch and photograph. I rely on my IPad to create a photo library for reference and layout. Collecting and isolating elements much like the beloved ColorForms toy sets. Playing with placement ideas, layout thoughts and elements may take a few weeks. This is the time you invest to save you time on canvas fixing mistakes or ideas that just won't work. You'll find the same is true in the analogue of sketchbooks and pencils.
Work your layout, colors, elements, and characters to a final thought. You'll know when you've found your project's best idea. Stick to the plan, and let the plan take you to finished success.
Step 2: Setup your Workspace
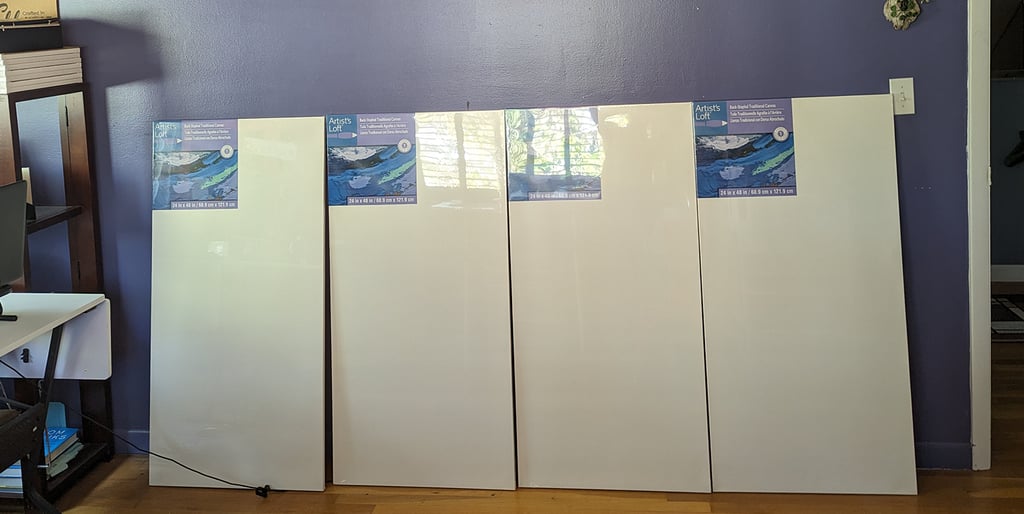
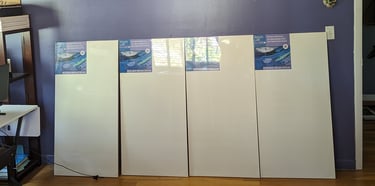
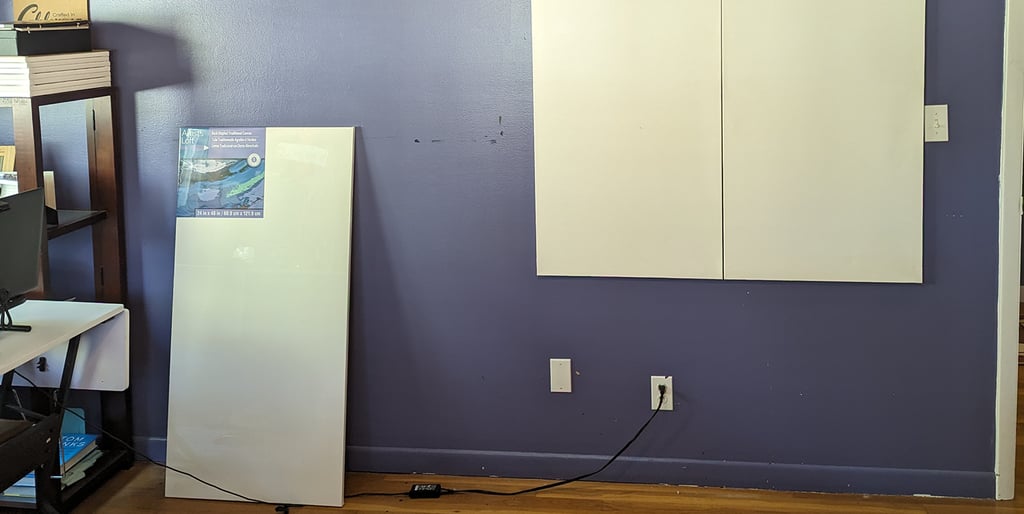
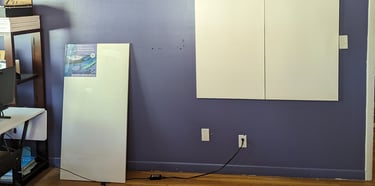
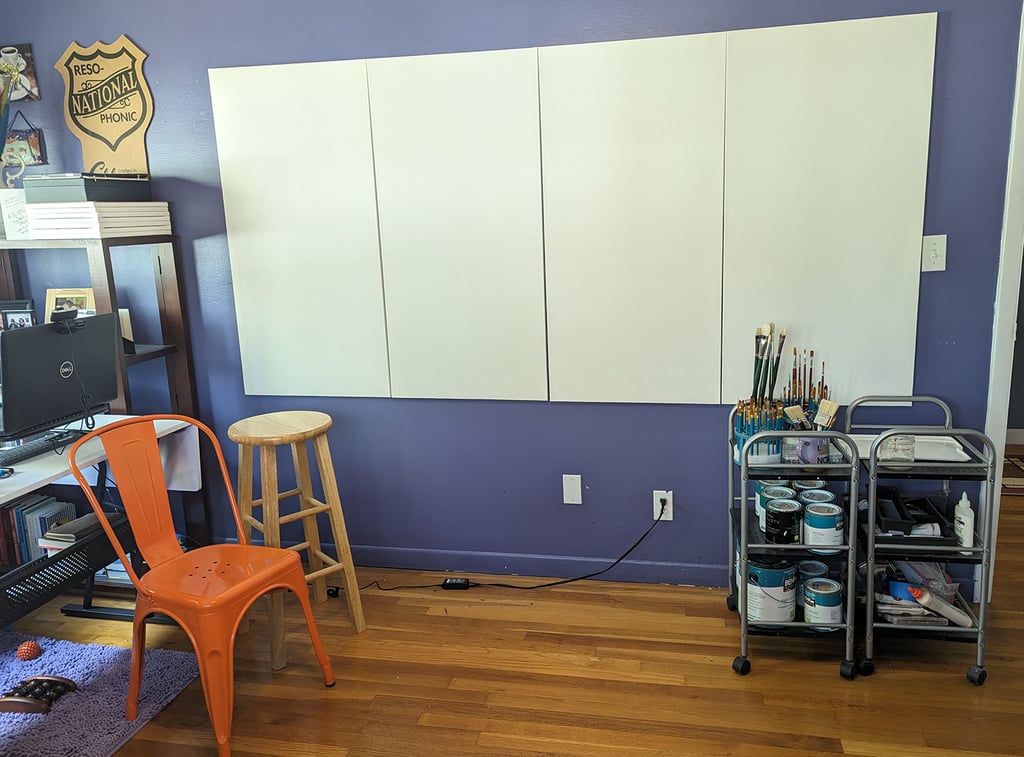
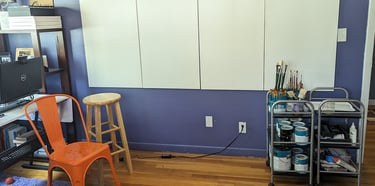
For continuity of brush strokes across panels attach them to a wall as they will be hung. This also gives you the ability to step back and see progress for that continuity. The goal of multiple panels, the illusion there are no panels.
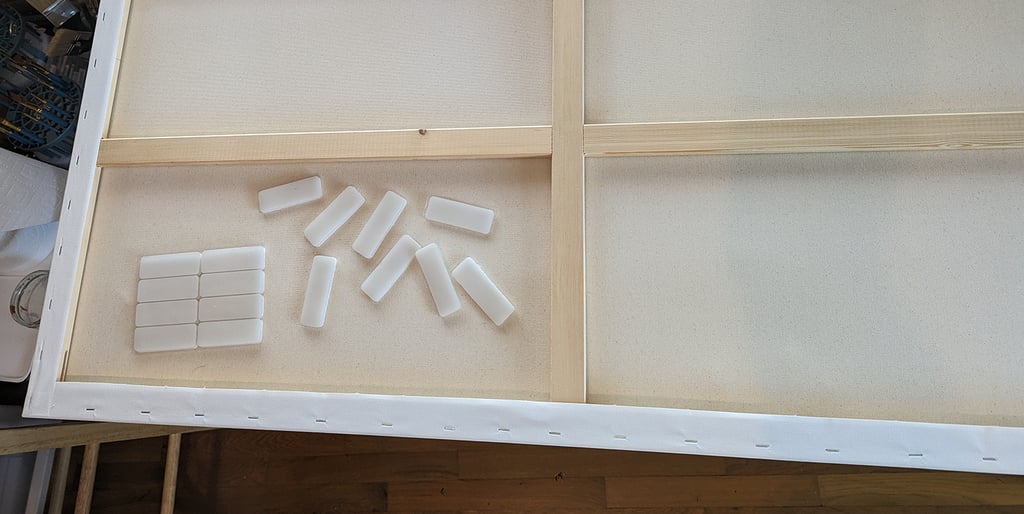
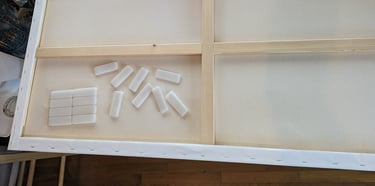
Arrange your four stretched canvas panels in the desired configuration with as little space between the panels as possible for the painting work ahead. Removable Velcro like the Command Velcro tabs rated for 20 lbs. give you stability as you work the canvas. Removing them from your canvas is also easy. Clean your wall with hot water and a few drops of Dawn dish soap to remove dust and dirt that will compromise the Velcro adhesive.
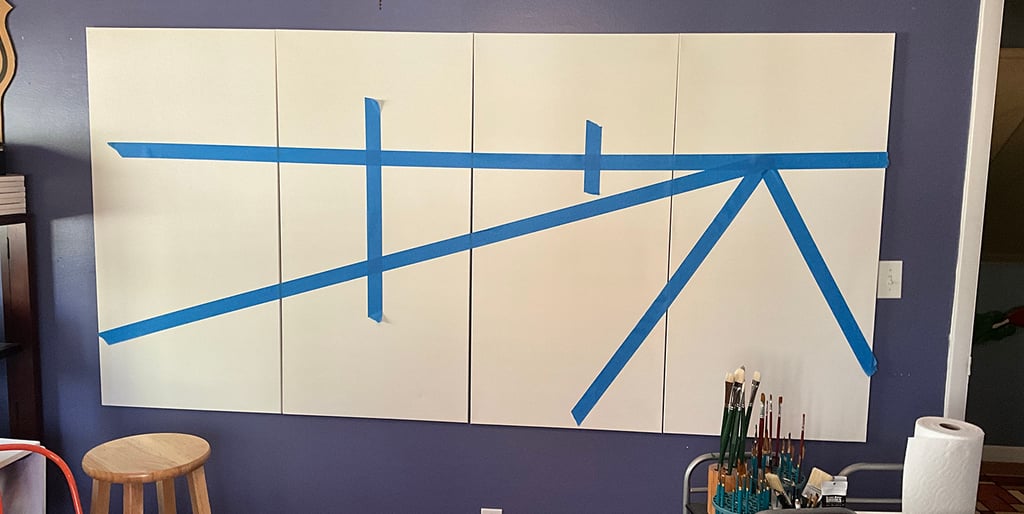
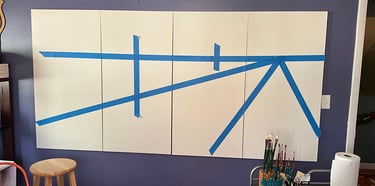
Step 3: Find your Perspective
You've got your design. You've got your panels on the wall. Now it's time to test your design's perspectives. Perspective is the hidden magic found clearly in the best art. I highly recommend grabbing the book Perspective 1: Technical Perspective and Visual Storytelling
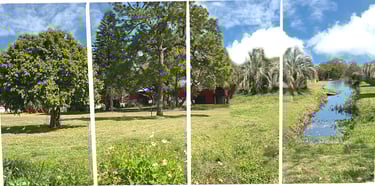
By using painters tape across the panels you can test movement, interest, and perspective. Does it stand up inviting a viewer into your scene? I've created a layout that performs best while standing at the right-hand side end panel. The vertical tape represents trees that will reinforce the single point perspective delivered by the creek. They also lead the viewers eye to the left, then back to the beginning inside the golden ratio of my layout.
Tips for a Successful Painting Project
Time spent in design, layout, and details is time saved. The better prepared and confident you are off the canvas, the better you'll feel when you get on the canvas.
Art is fear: If you're uncomfortable in mind, yet anticipating 'getting into it', you're in the right head space. Art is fearless. Try new techniques. Explore different colors. There are no rules in your art, you can do anything your heart and art desires. Which can lead to an uncomfortable feeling of intimidation. Freedom can be scary. Until you start.
Paint for yourself. Create the thing that doesn't exist. Art is magic. And let's not forget, if your canvas work gets out of control. You can always paint a fresh white layer and start over. It's impossible to paint yourself into a corner. You can paint yourself right out.
Take photos of your work in progress at different stages. When you've finished you should walk through how you got to the end. Take pride in that work. Take note of what turned out the way you liked, and what you want to do different next time.
Thinking about your painting, but not painting is still, painting. There are times I walk away from a canvas piece for a week and let ideas simmer in my head. Paging through imagined alternatives I might use on an area, character, or item. There are no wrong answers, but many interesting variables. Let them roll around in your head. This too, is creativity.
The creative arts offer important ways for a human to express themselves. We are driven to express who we are, that we are here, and this is how we see our world. Art is for the joy of expression. Escape into your canvas story, let it evolve under your brush. Revel in what you accomplish.
Part Two - Painting a Four Stretched Canvas Panel Project Step by Step publishing on my blog, soon.
As an Amazon Associate, I earn from qualifying purchases. Why link anything? As examples. If it's a link, I use it. What I like about Amazon in general, is the ability to see options and ideas. I like options and ideas.